
Disclosure: This post may contain affiliate links, meaning I get a commission if you decide to make a purchase through my links, at no extra cost to you. As an Amazon Associate, I earn from qualifying purchases.
Want to make Neapolitan pizza dough with no poolish and still get that delicious, airy crust? You’re in the right place. Indeed, this beginner-friendly recipe skips the pre-ferment and focuses on a simple, direct dough method – perfect for home bakers who want authentic flavor without the extra steps. Follow along as we break it down step by step and help you create pizzeria-quality results in your own kitchen.
Let’s get baking!
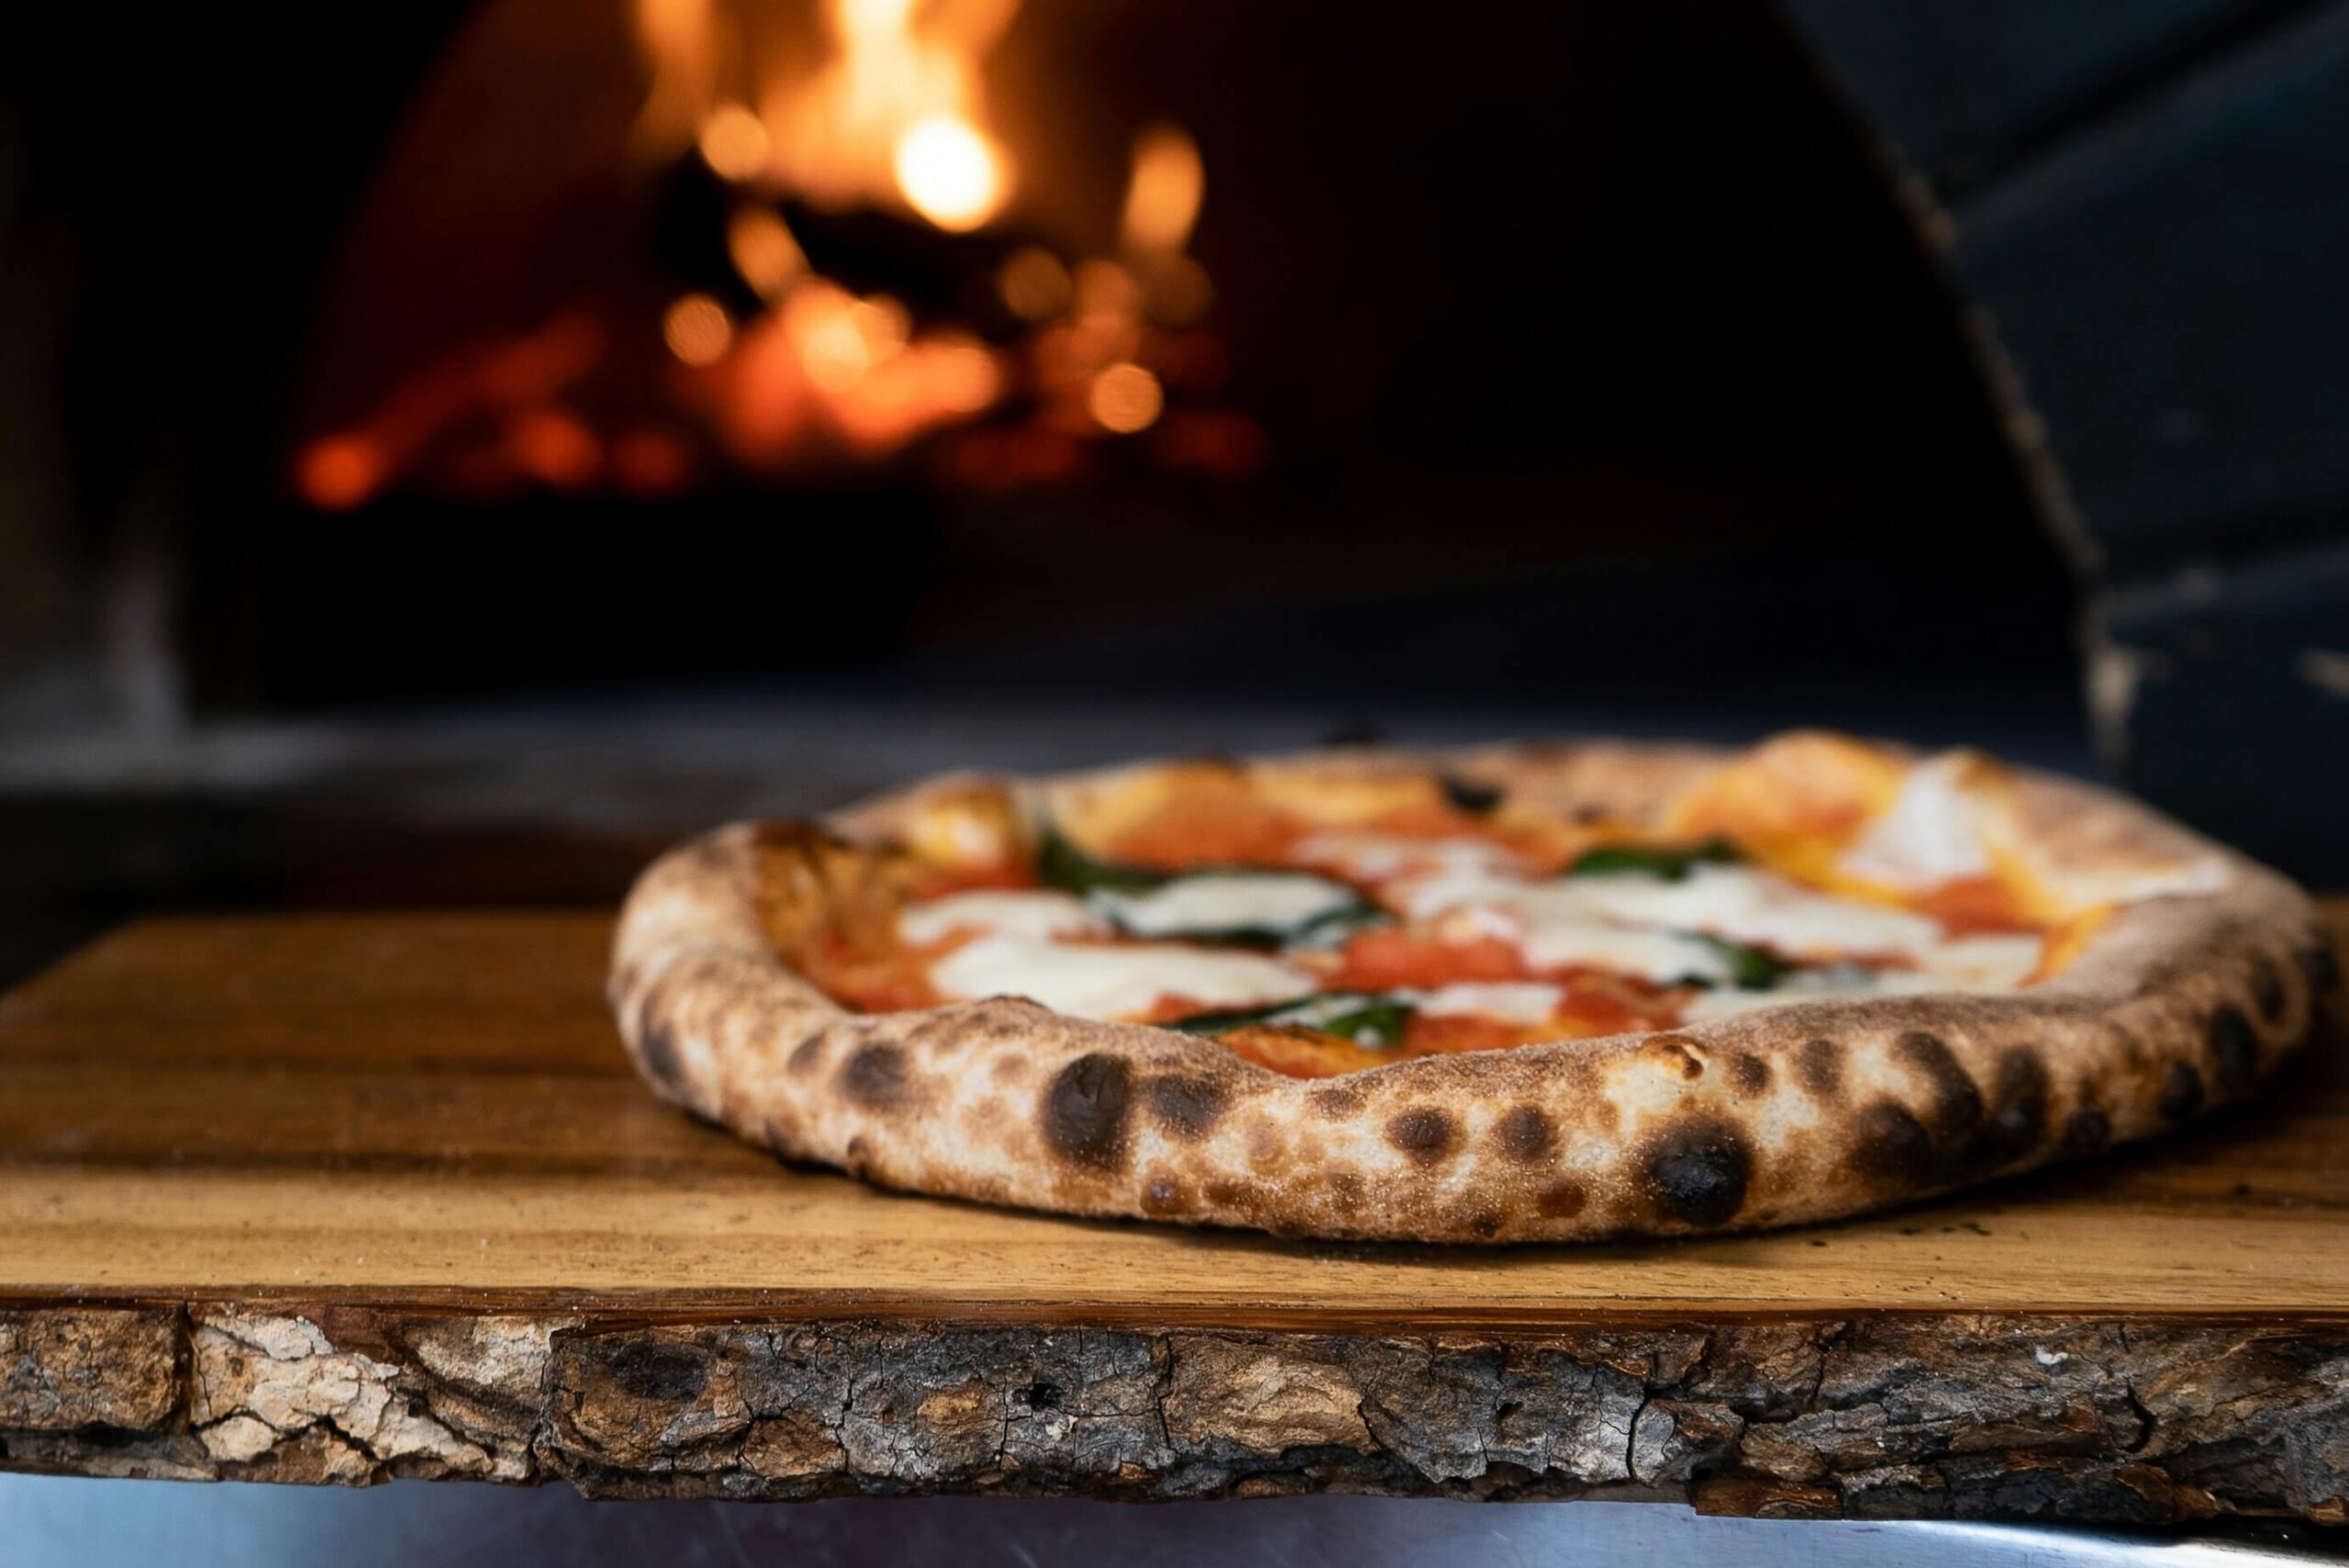
Neapolitan Pizza Dough (No Poolish)
Ingredients
Method
- Hydrate the Yeast: In a large mixing bowl, gently dissolve the fresh yeast in the water. (Alternatively, if using dry yeast, sprinkle it over the water and let it sit for 5 minutes until it blooms).
- Add Flour and Salt: Gradually add the flour to the water/yeast mixture, mixing with one hand or a wooden spoon. Once about half the flour is incorporated, add the salt.
- Add Olive Oil & Combine: Pour in the olive oil and continue adding the remaining flour. Mix until all the flour and oil are hydrated and you have a shaggy, rough dough.
- Knead the Dough: Transfer the dough to a lightly floured surface and knead by hand for 10-15 minutes (or use a stand mixer on low speed for 8-10 minutes) until smooth, elastic, and passes the windowpane test.
- Crush Tomatoes: Open the can of whole peeled San Marzano tomatoes and crush them gently by hand in a bowl to retain a nice texture.
- Season: Add a pinch of salt to taste, fresh basil leaves if desired, and a tablespoon of extra virgin olive oil for extra richness. Mix gently and set aside.
- Bulk Fermentation: Shape the dough into a smooth ball, place in a lightly oiled bowl, cover, and let rest at room temperature for 2-3 hours until doubled in size.
- Divide & Shape Balls: Gently transfer the dough to a floured surface, divide into 4 equal pieces (~250g each), and shape into tight, smooth dough balls.
- Second Proofing: Place the balls in individual containers and let them rise at room temperature for 2-4 hours until puffy and airy. Alternatively, for enhanced flavor and digestibility, you can cold ferment them in the fridge for 8-24 hours.
- Preheat Oven: Place your pizza stone or steel on the middle or top rack of your oven. Preheat your oven to its highest possible temperature (usually 250-300°C / 480-570°F) for at least 45-60 minutes. A long preheat is crucial for a crispy crust.*Note for High-Heat Oven Users: If you are using a dedicated outdoor/indoor pizza oven that reaches 400–500°C (750–900°F), preheat your dedicated stone to that high temp instead, and skip the pre-baking step entirely later on—bake your pizza with all toppings at once for just 60–90 seconds.
- Prepare & Sauce Your Pizza: Lightly flour your pizza peel. Gently take one dough ball and stretch it by hand from the center outwards, pushing the air to the edges to form the cornicione (crust). Avoid using a rolling pin! Spread a thin, even layer of your simple Neapolitan pizza sauce over the dough, leaving the edges for the crust.
- Initial Bake (Optional, but Recommended for Crispy Crust): Carefully slide the sauced pizza onto the preheated stone/steel. Bake for 1-2 minutes (or until the crust begins to puff and set, but before it gets much color). This helps the base cook through and prevents a soggy bottom.
- Add Toppings: Quickly remove the pizza from the oven (it will still be pliable). Now, first, add a light sprinkle of freshly grated Parmigiano-Reggiano or Pecorino Romano, add your fresh mozzarella (drained well), and a few fresh basil leaves. Remember, don’t overload your pizza! Less is more for authentic Neapolitan style.
- Final Bake & Launch: Carefully slide the pizza back onto the preheated stone/steel. Bake for another 3-6 minutes (total bake time usually 5-8 minutes), or until the crust is puffed, golden, and beautifully charred in spots, and the cheese is bubbly and melted.
- Enjoy! Remove the pizza, let it cool for a minute on a wire rack, top with fresh basil leaves, slice and savor your homemade masterpiece! This recipe ensures you’ll get a perfect Neapolitan pizza dough no poolish result every time.
✅ Tip: Use a digital kitchen scale for accurate hydration and consistency.
Mixing the Dough
This Neapolitan pizza dough no poolish version skips the starter, making it beginner-friendly and faster to prepare.
Consequently, this is a direct dough method, meaning all ingredients are mixed together at once.
- Hydrate the Yeast: In a large mixing bowl, gently dissolve the fresh yeast in the water. Alternatively, if using dry yeast, sprinkle it over the water and let it sit for 5 minutes until it blooms (foams slightly).
- Add Flour and Salt: Gradually add the flour to the water/yeast mixture, mixing with one hand or a wooden spoon. Once about half the flour is incorporated, add the salt.
- Add Olive Oil & Combine Until Shaggy: Pour in the olive oil and continue adding the remaining flour. Mix until all the flour and oil are hydrated and you have a shaggy, rough dough.
- Knead the Dough:
- By Hand: Transfer the dough to a lightly floured clean surface. Knead for 10-15 minutes. Use a pushing and folding motion, turning the dough periodically. It will be sticky at first but will become smoother and more elastic as you go.
- With a Stand Mixer: Using a dough hook attachment, knead on low speed for 8-10 minutes. Scrape down the sides of the bowl as needed. The dough should be smooth, elastic, and pull away from the sides of the bowl.
- Check for Smoothness: The final dough should be soft, pliable, and relatively smooth. Perform a “windowpane test” if you like: gently stretch a small piece of dough; if it stretches thin enough to see light through it without tearing, it’s ready.
Simple Neapolitan Pizza Sauce (No-Cook)
For a detailed and expanded guide on making classic no-cook Neapolitan pizza sauce, visit my full post here: Simple Neapolitan Pizza Sauce (No-Cook).
The authentic Neapolitan pizza sauce is surprisingly simple and requires no cooking! The freshness of the tomatoes truly shines.
- Choose Your Tomatoes: Start with high-quality whole peeled San Marzano tomatoes. These are considered the gold standard for Neapolitan pizza due to their balance of sweetness and acidity.
- Crush by Hand (or Ready-Crushed): Open the can of tomatoes. Using your clean hands (or a potato masher/fork), gently crush the whole tomatoes in a bowl. You want some texture, not a completely smooth puree. Alternatively, you can purchase high-quality crushed San Marzano tomatoes if you prefer a simpler approach – just look for pure crushed tomatoes without added herbs or spices.
- Season: Add a small pinch of salt. Taste and adjust if necessary. Some purists add nothing else, but a fresh basil leaf or two can be added for aroma (remove before spreading if you don’t want it baked into the sauce).
- Ready to Use: That’s it! Your simple, fresh Neapolitan pizza sauce is ready.
Bulk Fermentation (First Rise)
This is where the magic happens and flavor develops.
- Form a Ball: Lightly oil a large bowl. Shape your dough into a smooth ball and place it in the bowl.
- Cover & Rest: Cover the bowl tightly with plastic wrap or a damp cloth to prevent drying.
- Room Temperature Fermentation: Let the dough rest at room temperature (around 20-24°C / 68-75°F) for 2-3 hours, or until it has roughly doubled in size. The exact time depends on your yeast amount and room temperature.
Dividing & Shaping (Ballificazione)
Now we create our individual pizza dough balls.
- Gentle Handling: Lightly flour your work surface. Gently transfer the dough from the bowl, trying not to deflate it too much.
- Divide: Divide the dough into 4 equal pieces, aiming for about 250g each.
- Shape into Balls: Shape each piece into a tight, smooth dough ball. There are many techniques, but a simple method is to gently pull the top of the dough down and tuck it under itself, rotating until you have a smooth, taut sphere.
- Second Rise (Proofing): Place the dough balls into individual lightly oiled and floured airtight containers or a proofing tray, ensuring there’s space between them.
- Final Proofing Options:
- Cold Fermentation (Recommended for Flavor & Digestibility): For best flavor and digestibility, place the covered dough balls in the refrigerator for 8-24 hours. This slower, colder rise develops more complex flavors.
- Room Temperature Proofing (Faster Option): If you’re short on time or prefer to bake the same day, let the covered dough balls rise at room temperature (around 20-24°C / 68-75°F) for 2-4 hours, or until they are visibly puffy and have increased significantly in size. They should feel airy and soft.
- Room Temperature Comeback (If Cold Fermenting): If you chose cold fermentation, take the dough balls out of the fridge 2-3 hours before you plan to bake, allowing them to come to room temperature and relax. They should feel airy and soft.
Baking Your Neapolitan Pizza Dough No Poolish Masterpiece
Get ready for amazing homemade pizza!
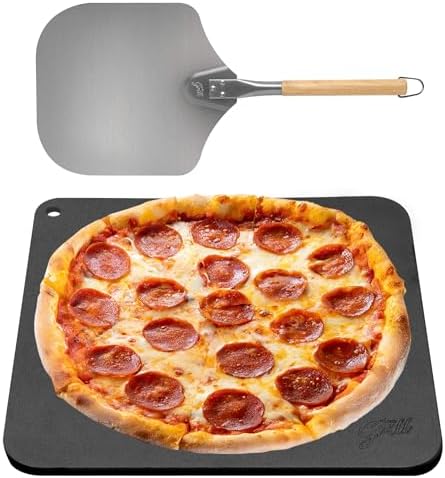
- Preheat Your Oven: Place your pizza stone or steel on the middle or top rack of your oven. Preheat your oven to its highest possible temperature (usually 250-300°C / 480-570°F) for at least 45-60 minutes.
Preheat to 250-300°C for 45-60 minutes. A long preheat is crucial for a crispy crust.
*Note for High-Heat Oven Users: If you are using a dedicated outdoor/indoor pizza oven that reaches 400–500°C (750–900°F), preheat your dedicated stone to that high temp instead, and skip the pre-baking step entirely later on—bake your pizza with all toppings at once for just 60–90 seconds.
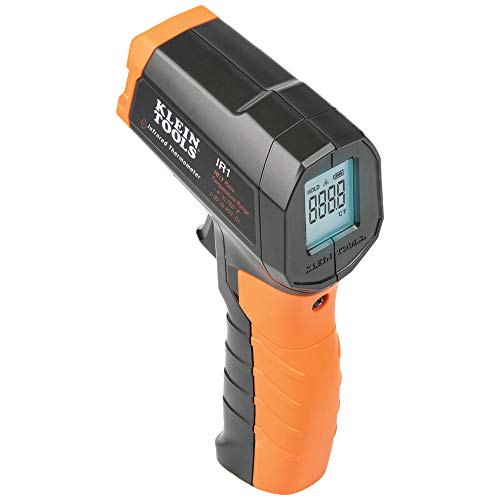
I use an infrared thermometer to make sure the stone is hot enough - Prepare & Sauce Your Pizza: Lightly flour your pizza peel. Gently take one dough ball and stretch it by hand from the center outwards, pushing the air to the edges to form the cornicione (crust). Avoid using a rolling pin! Spread a thin, even layer of your simple Neapolitan pizza sauce over the dough, leaving the edges for the crust.
- Initial Bake (Optional, but Recommended for Crispy Crust): Carefully slide the sauced pizza onto the preheated stone/steel. Bake for 1-2 minutes (or until the crust begins to puff and set, but before it gets much color). This helps the base cook through and prevents a soggy bottom.
👉 Click here for my full guide on pre-baking pizza dough - Add Toppings: Quickly remove the semi-baked pizza. Add a sprinkle of Parmigiano or Pecorino, drained fresh mozzarella, and fresh basil. Keep it light. (High-heat oven users: skip removal and add toppings before launching).
- Final Bake & Launch: Carefully slide the pizza back onto the hot stone. Bake for 3-6 minutes until golden, charred in spots, and the cheese is bubbly and melted.
- Enjoy! Remove the pizza, let it cool for a minute on a wire rack, slice, and enjoy your masterpiece!
✅ Tips for Success with Your Neapolitan Pizza Dough No Poolish
- Accurate Measurements: Use a digital kitchen scale for precise flour and water measurements. This is critical for consistent results.
- Don’t Over-Knead/Under-Knead: Pay attention to the dough’s texture. It should be smooth and elastic.
- Hydration: This recipe has about 60% hydration. As you gain experience, you can experiment with slightly higher hydration for an even airier crust.
- Oven Temperature: The hotter, the better! Ensure your oven and stone/steel are fully preheated.
- Toppings are Key: Less is more for Neapolitan pizza. Let the dough shine.
- Practice Stretching: Dough stretching takes practice. Don’t worry if your first few aren’t perfectly round.
Tools Mentioned in This Recipe




*As an Amazon Associate, I earn from qualifying purchases.
Frequently Asked Questions
A poolish is fantastic for flavor, but it requires advance planning (often 12 to 24 hours). This direct dough method lets you make delicious, airy Neapolitan-style pizza on the same day without sacrificing great texture and flavor.
While a pizza stone or steel is highly recommended to get that authentic crust in a standard home oven, it’s not strictly mandatory. If you don’t have one, you can preheat a heavy, inverted baking sheet or use a cast-iron skillet on your stovetop finished under the broiler. However, a stone or steel will give you the best heat transfer and bottom char.
Yes, you can! The best time to freeze the dough is right after dividing and shaping them into tight balls. For a complete, step-by-step walkthrough on methods, timing, and how to thaw them properly without ruining the gluten structure, check out my guide on how to store pizza dough balls.
Tipo 00 flour is the gold standard because of its fine grind and high protein content, which allows it to withstand very high oven temperatures and create a light, airy cornicione. If you can’t find Tipo 00, a high-protein bread flour (around 12-13% protein) is the best alternative.
Final Thoughts
Making Neapolitan pizza dough with no poolish is a fantastic way to dive into the world of authentic homemade pizza. This simple method is both forgiving and rewarding, producing incredibly delicious results without the need for a starter. With a bit of practice, you’ll be pulling beautiful, airy pizzas from your home oven that rival your favorite pizzerias.
Happy baking!



[…] A pizza oven can reach extremely high temperatures, but it can’t fix a poorly prepared dough.For a simple approach, start with my Neapolitan Pizza Dough Without Poolish. […]