Disclosure: This post may contain affiliate links, meaning I get a commission if you decide to make a purchase through my links, at no extra cost to you. As an Amazon Associate, I earn from qualifying purchases.
Want to make real Neapolitan pizza at home, with a light, airy crust and deep flavor? This Neapolitan pizza with Poolish recipe is your easy, step-by-step guide to achieving authentic results. The Poolish method – a simple pre-ferment – boosts both flavor and texture.
But what exactly is Poolish?
Poolish is a type of pre-ferment made by mixing equal parts flour and water with a tiny amount of yeast. It’s typically left to ferment for several hours at room temperature (about 3 to 6 hours) or up to 24 hours in the refrigerator, becoming bubbly and aromatic. Sometimes, a small amount of sugar or honey is added to help feed the yeast and slightly boost fermentation, but it’s optional.
Let’s break it down, step by step.
Ingredients for Neapolitan Pizza with Poolish
Yields ~5 dough balls, ~280g each
Poolish (Make 16–24 hours ahead):
- 300g flour (Tipo 00 or strong bread flour)
- 300g water (room temp)
- 5g dry yeast
- 5g honey or sugar
Final Dough:
- 30g olive oil
- All of the poolish
- 430g flour
- 200g water
- 15g salt
Day 1 – Prepare the Poolish
- In a large bowl, mix the 300g flour, 300g water, yeast, and honey.
- In a large bowl, mix the 300g flour, 300g water, yeast, and honey.
- Stir until fully combined. It will look like a thick batter.
- Cover with plastic wrap or a lid.
- Let it sit at room temperature for 1–2 hours.
- Then place in the refrigerator for 16–24 hours.

Day 2 – Mix the Final Dough
- Take the poolish out of the fridge and let it sit at room temp for 1 hour.
- Add 200g water to the poolish and mix gently.
- Add salt and olive oil.
- Gradually add the 430g flour while mixing by hand or with a mixer.
For accurate results, I recommend using a digital kitchen scale. Precise measurements make a big difference when working with high-hydration dough. - Knead for about 8–10 minutes until smooth and elastic.
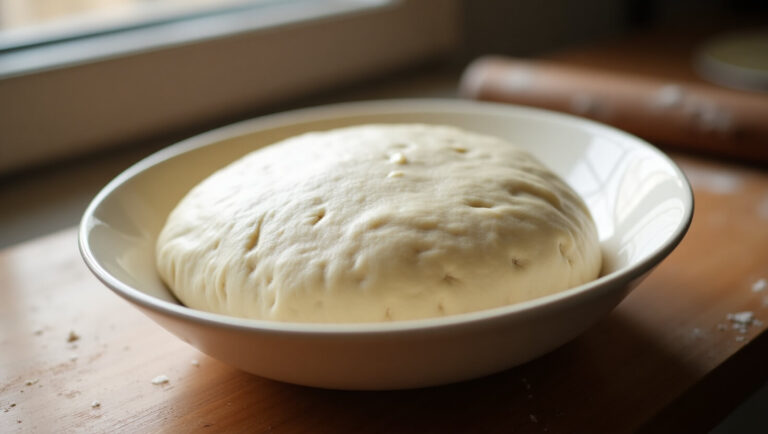
- Cover and let rest for 1 hour at room temperature.

Divide & Shape
Before dividing, it’s a good idea to stretch the dough gently to check gluten development.
The dough should feel elastic and hold together without tearing – this shows the gluten is strong enough for shaping.
- Divide the dough into 5 equal pieces (~280g each).
- Shape each piece into a tight dough ball.
To store them properly, I use dough proofing containers – they’re stackable, prevent sticking, and help maintain the dough’s shape during the final rise. - Place in a tray or individual containers, lightly floured.
- Cover and let rise for 1–2 hours at room temperature.

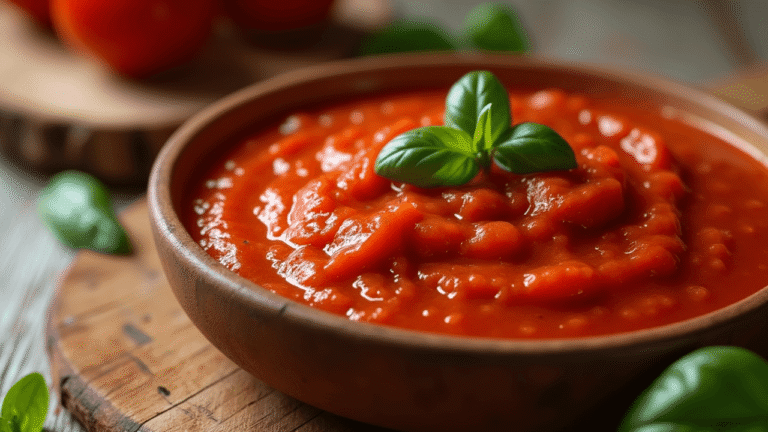
Simple Neapolitan Pizza Sauce (No-Cook)
For a detailed and expanded guide on making classic no-cook Neapolitan pizza sauce, visit my full post here: Simple Neapolitan Pizza Sauce (No-Cook).
How to Bake Neapolitan Pizza with Poolish Dough
- Preheat your oven with a pizza stone like this Hans Grill model or a pizza steel for at least 45 minutes at the highest setting (250–300°C / 480–570°F). For optimal results, I use an infrared thermometer to make sure the baking surface reaches proper temperature before baking.
- When it’s time to shape, stretch the dough gently by hand — never with a rolling pin.
Start pressing from the center of the dough and work your way outward, pushing the air toward the edges. This technique creates that signature Neapolitan-style cornicione (puffy crust) without making the base too thin or breaking the structure. Rotate the dough as you go, letting gravity help stretch it evenly.


At this point, I recommend doing a short pre-bake (1–2 minutes without toppings) to help the base set properly and prevent sogginess — especially in home ovens.
👉 Click here for my full guide on pre-baking pizza dough if you want to understand exactly how and why it works.
To transfer the pizza into the oven smoothly, I use a foldable pizza peel like this one by Chef Pomodoro. It’s lightweight, compact, and works great for indoor setups.
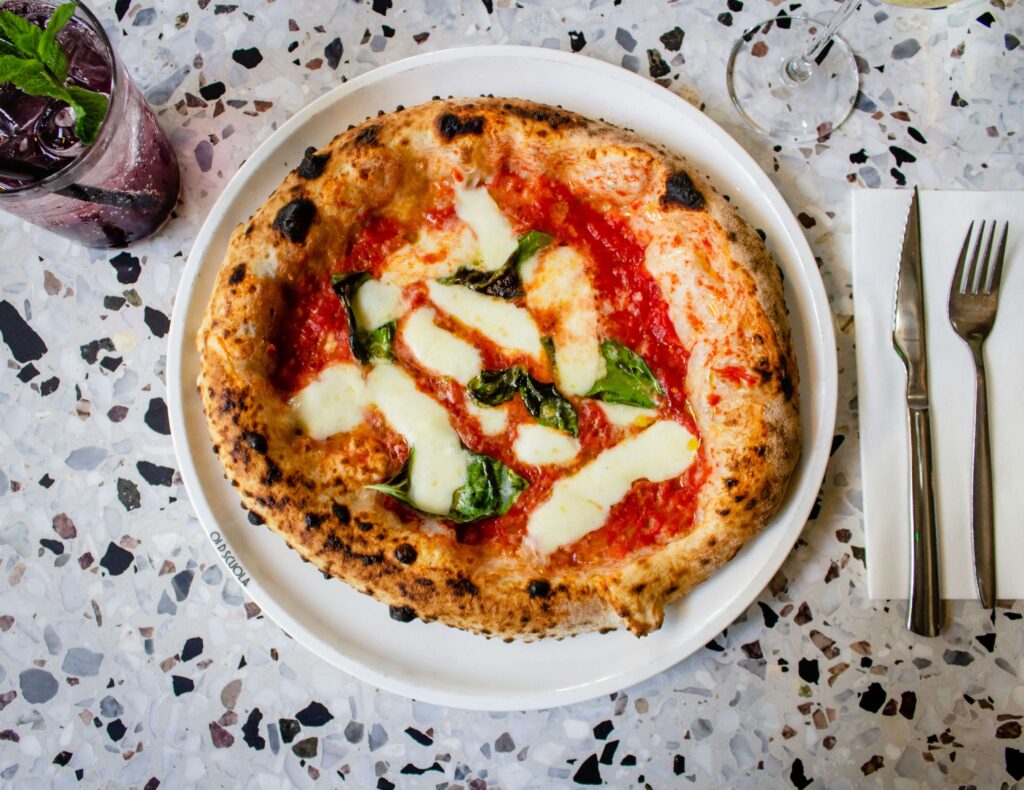
- Add your favorite toppings — start with just sauce, mozzarella, and basil for a true Margherita.
- If you pre-bake the base (1–2 minutes): Bake for about 3–5 minutes after adding toppings.
- If you did not pre-bake: Bake for about 5–7 minutes, until the crust is puffed and lightly charred.

✅ Tips for Neapolitan Pizza with Poolish Success
- Use a digital scale for accurate results.
- Don’t overload your pizza with toppings — less is more.
- Let your pizza steel or stone preheat fully before baking.
- Stretch by hand, never with a rolling pin — it preserves air bubbles.
Tools Mentioned in This Recipe
- Chef Pomodoro Pizza Peel
- Hans Grill Pizza Stone
- Pizza Steel PRO
- Infrared Thermometer
- Digital Kitchen Scale
- Dough Proofing Box
*As an Amazon Associate, I earn from qualifying purchases.
Final Thoughts
Making pizza with Poolish takes a little planning, but the results speak for themselves: light, flavorful crust with perfect structure. Once you try it, you’ll never go back to same-day dough.
This Neapolitan pizza with Poolish recipe is perfect for home bakers who want to level up their pizza game with minimal effort and maximum flavor.